17/08/2016

How to Create Facial Hair in Photoshop | Create Realistic Beard

How to Create Facial Hair in Photoshop | Create Realistic Beard

How to Create a Realistic Beard in Photoshop


In this tutorial, I'll show you How to Create Facial Hair in Photoshop. I'll be using Photoshop CC 2015. Let's get started!

Tutorial Preparation

In order to complete this tutorial you'll need the following elements:
  • Photoshop CC (Try yours)
  • A Photo To Add Beard

Step 1: Setting Up the PSD file

First of all open your photoshop. Set the foreground color to pure black and the background color as pure white. Then create a new layer. Now select Rectangular Marque Tool and make a square selection. Then fill the selection with the white color, just press Ctrl + Backspace.

Step 2: Making a Brush

Now grab your Brush Tool and draw a line as like as a single beard. Try to make it as perfect as you can. Then go to Edit > Define Brush Preset. You can set a name if you want or direct click OK. That's it. Your brush is ready to use. Now you can delete this layer.
If you cannot do these steps you can download the brush of mine, which you see in my video tutorial. But I recommend, try to make yours.

Step 3: Setting Up The Brush Tool

Okay. We have our brush no. Now select Brush Tool. You can see our Beard brush on the bottom of Brush Preset option. Pick that one. Now go to Brush Panel just by the Brush Preset option. Set the Size to 12px and Spacing to 60%. Now click on Shape Dynamics. Set the Size Jitter 100%, Minimum Diameter 25%, Angle Jitter 15% Roundness Jitter 26% and Minimum Roundness to 25%. Then click on Scattering and change Scatter to 223%, Count 2 and Count Jitter to 47%. Now Transfer. Set Opacity Jitter to 60% and Flow Jitter to 30%. All set! Minimize the Brush Panel window.

Step 4: Drawing Facial Hair

Here we go! It's time to see the magic!
Okay, now pick a color of beard and start brushing around the face. Just drag the brush for 3-4 times. Then pick a beard color again and brush for 3-4 times again. Keep going like that. Remember to change the brush color over and over again to have a realistic look of beard.

Get this tutorial on YouTube:

How to Create Facial Hair in Photoshop | Create Realistic Beard In this tutorial, I'll show you How to Create Facial Hair in Pho...

08/08/2016

How to Create Realistic Sweating Effect in Photoshop

How to Create Realistic Sweating Effect in Photoshop

Realistic Beads of Sweat Effect in Photoshop


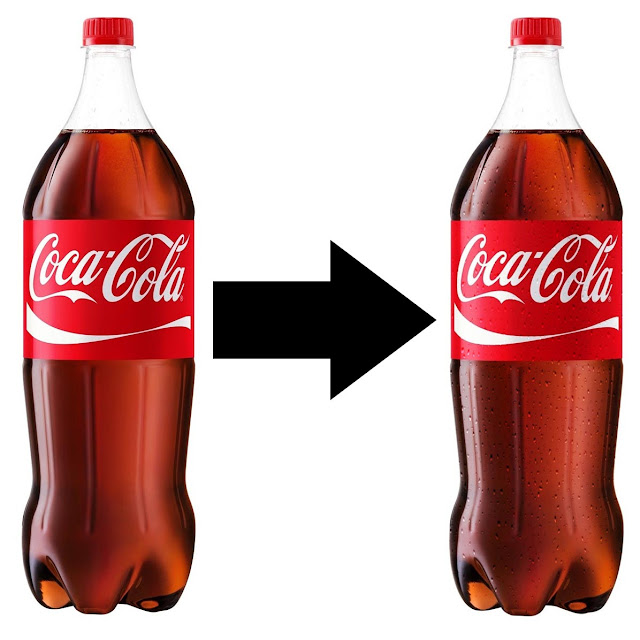
In this tutorial, I'll show you How to Create Realistic Sweating Effect on a bottle or something else like that. I'll be using Photoshop CC 2015. Let's get started!

Tutorial Preparation

In order to complete this tutorial you'll need the following elements:
  • Photoshop CC (Try yours)
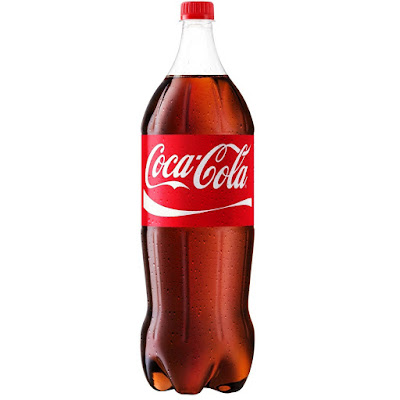
  • A Plastic Bottle Image (Download)

Step 1: Setting Up the PSD file

First of all open your photoshop. Set the foreground color to dark gray (color code is 222222) and the background color as pure white. Then create a new layer and fill the "foreground" layer with the dark gray color by pressing Alt + Backspace.

Step 2: Making the Layer Texture

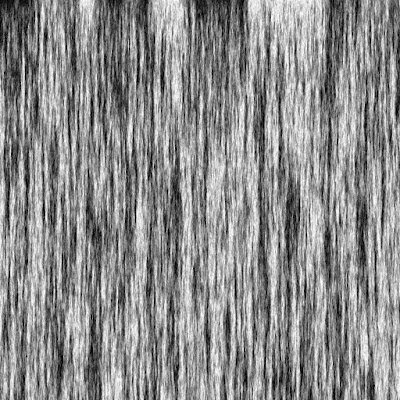
Now go to Filter > Render > Fibers. In the Fibers Filter dialog box, you can see so many Fiber Effects, just by clicking on the Randomize button. Now choose any of it and set Variance to 16, Strength to 4. When done, click OK. The result will be similar to this or something like this:
Fiber on photoshop
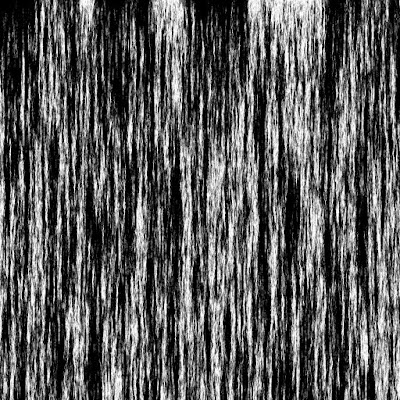
Now go to Image on the top, then Adjustments > Levels. Instead to doing this, you can hold your Ctrl key then press L. That means Ctrl+L. Increase the contrast of the image of Fibers or set it to 115 : 1.00 : 228. Click OK. I know this time your image got the same look as mine:
Fiber Effect in photoshop


Step 3: Adding Some More Filters

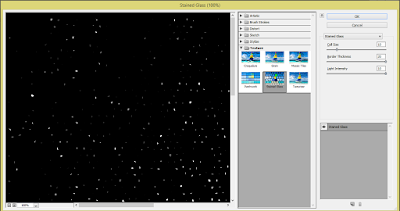
We are almost done fellows! Now go to Filter > Filter Gallery > Texture > Stained Glass. Set the Cell Size to 10, Border Thickness 20 and Light Intensity at 10. Look at the picture below:
Realistic Beads of Sweat Effect in Photoshop
Hit OK then.
Go to Filter, then Filter Gallery again. This time click on Sketch and select Plaster. Now set the Image Balance 10 and Smoothness 1. Look what we have got!!
Realistic Sweating Effect in Photoshop
Move ahead by clicking OK.

Step 4: Removing The Background

Huuu... We are almost in the end! Now select Magic Wand Tool from the toolbar and click anywhere in the black area of the image. Then press Delete Key on your keyboard to delete the black background from  the image.
Your image looks almost like this one. Isn't it?
Now press Ctrl+D to deselect the area. 

Step 4: Changing The Blending Mood

Fellows, we are 2 click away from our final result. Haha... I can see a beautiful smile on your face now! To change the Blending Mood of our image, just click on the Blending Mood box and select the blending mode normal to overlay!

Final Result: 

Sweating effect on photoshop
Here we go! Realistic Sweating Effect. Looks so real! Hope you enjoy this tutorial. Be with us, nent post is coming soon!
However if you have any question or query, just leave comment below. I am always there to help you.
Here this tutorial on TouTube:

How to Create Realistic Sweating Effect in Photoshop In this tutorial, I'll show you How to Create Realistic Sweating Effect on...